To install your Tyger tonneau cover, first clean the truck bed rails thoroughly and verify compatibility with your bed dimensions. Position the side rails along the inner bed edges, aligning them flush from bulkhead to tailgate. Attach clamps evenly to the metal bed rail lip, inserting jaws fully into the rail’s inner channel. Center the assembled cover against the bulkhead and unfold it toward the tailgate. Adjust tension plates to eliminate sagging, tighten all clamps systematically, and inspect weather stripping for gaps. The following sections provide detailed guidance for achieving ideal weatherproofing and long-term performance.
Gather Your Tools and Verify Compatibility
Before beginning installation, you’ll need to assemble the correct tools and confirm your truck’s compatibility with the Tyger tonneau cover. Proper tool organization requires a socket wrench or ratchet set with an 8mm hex bit, clamp pads, foam weather stripping, tape measure, and utility knife. Verify all components are accessible before starting.
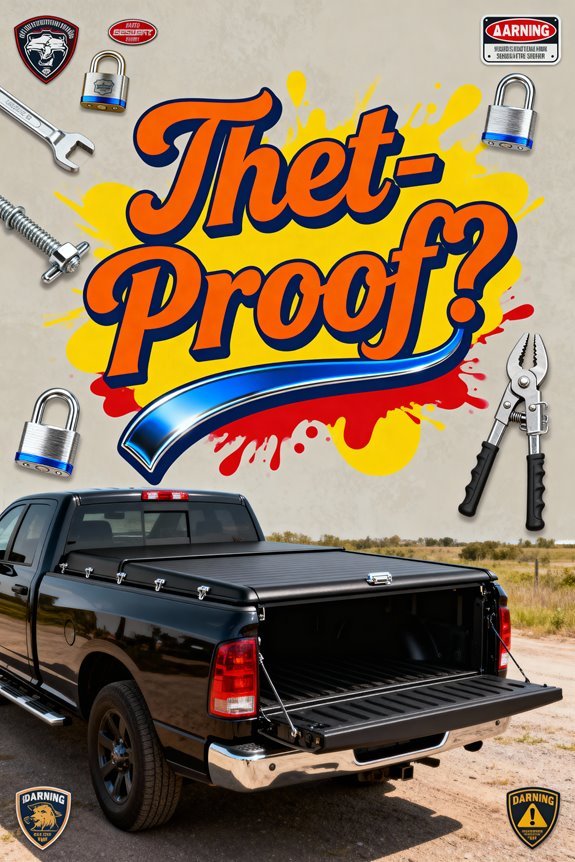
Compatibility assessment begins with measuring your truck bed dimensions against the cover specifications. Confirm bed length, width, and rail shape match the model ordered. Check that bed rails provide conventional metal surfaces for direct clamp attachment—aftermarket bed liners may require trimming. Verify factory mounting points align with bracket requirements and assess tailgate design for potential gaps requiring additional weather stripping. Clean bed rails thoroughly, removing debris and obstructions to guarantee maximum clamp grip and prevent paint damage. Tonneau covers enhance fuel efficiency by reducing wind drag over the truck bed, making proper installation essential for optimal performance. Hard tonneau covers feature locking mechanisms that provide superior theft protection compared to soft fabric alternatives. The installation takes only a few minutes once you’ve completed all preliminary checks and gathered the necessary materials.
Inspect Your Package Contents
Successful installation depends on thorough package verification immediately upon delivery. Begin by examining packaging integrity for signs of transit damage that could indicate hidden component issues. Extract all contents and cross-reference against the parts checklist included in your manual. Separate mounting brackets, weather seals, cover panels, and hardware into groups matching installation sequence.
Inspect the cover material for tears, punctures, or fraying. Examine metal components—clamps, hinges, brackets—for corrosion or deformation. Check foam seals and weatherstripping for cracks that compromise waterproofing. Verify all fasteners are present and defect-free.
Confirm your Tyger Tonneau Cover variant matches your truck’s make, model, and year. Identify model-specific hardware, particularly alternative brackets for trucks equipped with utility tracks. Ensure you have received the appropriate weather stripping for your specific cover type, whether soft roll-up, tri-fold, or hard folding. Verify that mounting blocks are included if your model requires additional clamp support for proper installation. Organize components near your truck bed to streamline installation workflow. Identifying and addressing damage before installation is critical, as failure to report issues at this stage may result in claim rejection.
Prepare Your Truck Bed
Proper bed preparation establishes the foundation for secure tonneau cover attachment and ideal performance. Begin by removing all cargo and debris from your truck bed. Apply appropriate cleaning techniques using water and mild detergent to eliminate dust, dirt, and mud from all surfaces. Focus particularly on bed rails, as contaminants interfere with clamp placement and weatherstripping adhesion.
Inspect your bed liner configuration carefully. Over-rail or spray-in bed liners may affect mounting clearances, requiring adjustment or modification. Verify that bed rails are straight, undamaged, and free from obstructions. Measure bed dimensions—length and width—confirming compatibility with your specific Tyger model.
Clean all mounting surfaces with rubbing alcohol to guarantee proper adhesion of weather seals. After cleaning, thoroughly dry the surfaces with a microfiber towel to prevent water spots and ensure optimal bonding. Gather necessary tools: socket set, wrenches, measuring tape, and utility knife. Before beginning installation, compare all tonneau cover components against the packing list for completeness. Once installed, your tonneau cover will provide weather-protected storage for tools, equipment, and supplies. This methodical preparation prevents installation complications.
Install the Side Rails
Position the side rails along the inner edge of your truck bed rails, ensuring both pieces extend evenly from the bulkhead to the tailgate. Loosen the bulkhead screws to allow sliding adjustments for proper side rail alignment. Verify the rear ends sit flush with the tailgate edge while maintaining parallel positioning to prevent gaps.
Attach clamps directly to the metal bed rail lip, avoiding any plastic liner interference. Space clamps evenly along each rail, with ends positioned closer to rail edges for ideal load distribution. Insert clamp jaws fully into the side rail’s inner channel before tightening. Initially install clamps loosely to permit final adjustments. Tighten the top half of each clamp without over-tightening to prevent warping of the side rails. Use correct tools to torque fasteners properly and ensure a secure fit. Check for any gaps between rails and the truck bed to ensure a proper seal.
For trucks with factory utility tracks, use the provided sliding brackets instead of standard clamps, ensuring L and R markings match their respective sides for correct clamp positioning.
Secure the Clamps
Tighten each clamp systematically, working from front to back on both sides to distribute tension evenly across the side rails. Position the clamp pad against the bed rail lip to protect your truck’s paint finish. Turn the adjustment knob until the clamp compresses the side Q-seal, creating a waterproof barrier. Avoid overtightening, which can damage the cover or bed rail components.
Verify proper clamp alignment by checking for uniform tension across all mounting points. Misaligned clamps cause uneven pressure and potential water infiltration. If gaps appear, reposition the clamp assembly and adjust accordingly. The no-drill installation design eliminates the need for permanent modifications to your truck bed. Ensure proper clamp tension against the truck bed rail to prevent fabric damage or insecure closure during driving. Proper engagement of the clamp teeth with grooves on the rail is essential for maintaining a secure fit during vehicle operation.
Regular clamp maintenance includes checking tightness monthly and inspecting hardware for wear. Address signs of deterioration immediately through clamp replacement to maintain ideal performance and seal integrity.
Position and Unfold the Cover
Before placing the tonneau cover on your truck bed, make certain you’ve completed all preparatory steps. Position the fully assembled cover snugly against the bulkhead, centering it evenly on both sides. Make certain the front edge sits flush with the front bed rail for ideal cover alignment. Carefully unfold the cover toward the tailgate in a smooth motion, extending it fully without forcing the material. Check that the surface lays flat without wrinkles as it extends. Verify side edges align consistently with the bed rails throughout unfolding. Inspect that seal edges compress slightly against rails for proper sealing techniques. Confirm front and rear seals engage without excessive gaps. If using a tri-fold design, fold sections back carefully while maintaining alignment before clamp installation. Ensure the side rails are correctly positioned and secured to provide a stable foundation for the cover. After unfolding, apply the weatherproof strip along the designated area to enhance protection against the elements. For maximum weatherproofing, check for any gaps around the tailgate area that may require specialized rubber seals to block out water and dust.
Adjust Tension and Alignment
Once the cover lies fully extended across your truck bed, you’ll need to fine-tune the tension control system to achieve maximum performance. Locate the tension plates at the end of each side rail. To tighten a loose cover, move the tension plates toward the tailgate; to loosen an overly tight cover, move them away. Each incremental adjustment provides approximately one-eighth inch of tension modification. Adjust vinyl tightness according to weather conditions, making one increment at a time.
Next, verify rail alignment along your truck bed rails. Confirm clamps secure the side rails evenly, maintaining proper positioning. Don’t over-tighten clamps during initial installation—leave room for tension adjustments. Position crossbars with an upward arch to prevent water pooling. Test the latch mechanism by confirming the latch head fits horizontally into the tension plate’s groove. Complete final clamping after verifying proper tension and secure closure. Most quality soft covers feature robust aluminum frames that maintain structural integrity even after repeated tension adjustments. Proper tension adjustment ensures weather protection and extends the lifespan of your soft tonneau cover.
Check Seals and Weatherproofing
After securing proper tension and alignment, inspect the tonneau cover’s sealing system to protect your cargo from environmental elements. Begin your seal inspection by examining the entire perimeter where the cover meets the bed rails. Look for visible gaps by opening the tailgate and checking for daylight penetration from inside the bed. Inspect factory-installed weatherstripping for cracks, tears, or detachment points that compromise protection.
Apply weatherproofing techniques by installing additional weatherstripping layers along gaps between the cover and tailgate. Use adhesive-backed weatherstrips on bed rails, ensuring they lay flat without bunching. Verify all side rail clamps remain properly tightened, as loose hardware permits water infiltration. Gaps between tailgate and cover are normal and expected in the T2 series design. While tonneau covers are highly water resistant, minor leaks may still occur in corners or at edges under extreme conditions.
Test your seal by pouring water over the closed cover while monitoring for interior drips, confirming weatherproof integrity before regular use. Proper alignment during installation ensures a weather-tight sealing system that effectively protects your truck bed contents from rain and debris.
Understand Your Warranty Coverage
Your Tyger tonneau cover comes with extensive warranty protection that varies by product line. T1, T2, T2X, and T3 models carry limited lifetime coverage, while T4 covers include 3-year protection and T5 models offer 5-year warranty terms. Coverage applies only to defects in materials and workmanship when you’ve installed the product correctly using approved hardware.
To maintain warranty eligibility, you’ll need your detailed purchase receipt showing the product part number and purchase date. The warranty is non-transferable and requires purchase from authorized dealers. Document the manufacturer number located on your cover for reference. Note that returns require prior authorization and are not accepted for non-defective products after installation, which also voids return eligibility.
Understanding the claim process is essential. Submit warranty requests through Tyger Auto’s online form with photos of both packaging and any defective components. When filing a claim, include clear pictures or videos that illustrate the concern and circumstances under which the defect occurred. Approved claims receive replacement parts at no cost during business hours Monday through Friday. Many owners choose DIY installation to save on professional installation fees, which can range from $200 to over $400 depending on the complexity of the cover.